
There are many great versions of DIY Headboards around the web on various blogs, and I definitely drew my inspiration from great tutorials like Censational Girl's to create my newest headboard.
I used some Dwell Studio fabric - Vintage Blossom in Citrine and nailheads from eBay for my creation. I was lucky and found the fabric at a local discount home store for $3.25 a yard!
I followed the simple steps of cutting the pattern using a stencil I drew on craft paper, stapling the batting down, followed by the fabric. I then used a rubber mallet to hammer in the nailheads. Here is the finished product!


A close up of the nailheads

I am in love with it and all of the color and pattern it brings to my otherwise neutral bedroom.
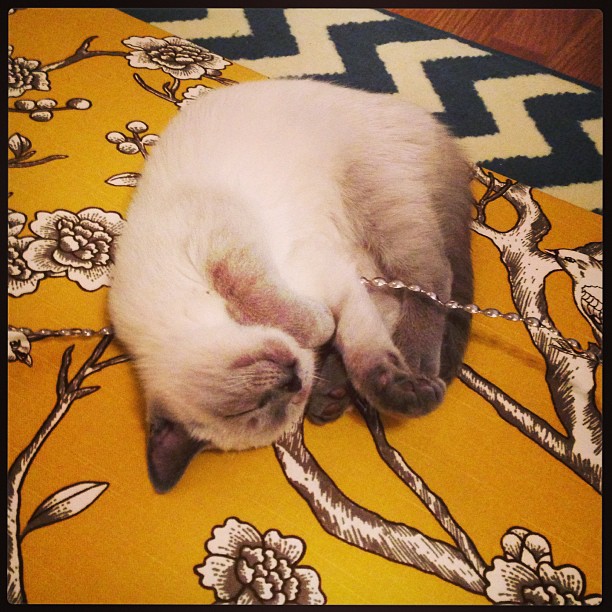
A bonus picture of one of my kittens "helping" :)
Have you made a DIY headboard? I'd love to see!
I've linked up here!

I've linked up here!
Your headboard turned out beautifully! I love the nail head detail. That must have taken forever! I'm so happy that you visited and linked up at One Creative Weekend at OneCreativeMommy.com. The next party starts tonight at 8:00 PM MST. I hope you'll be back.
ReplyDeleteHi Heidi,
ReplyDeleteThank you for visiting! It actually only took a couple of hours - totally worth it for me for the finished product!
Hi,
ReplyDeleteI've been looking at this fabric myself for a headboard slipcover, but the width of this fabric is only 54"--about 10" narrower than my queen size bed. I don't see any seams in your fabric here. How did you get such a wide piece of fabric?
Ashley
Hi Ashley! I had the same problem when making this headboard and definitely didn't want any seams. So instead, I flipped the fabric on its side, using about 2 yards. This makes the birds in the pattern sideways, which at first drove me nuts but I don't even notice it now. Let me know if you decide to go with this fabric, I'd love to see it!
Delete